
9 nifty Gboard for Android tricks you need to try
 Image: Ben Patterson/IDG
The only problem with Google’s Gboard keyboard for Android is that I’m totally hooked on its best features. Number and symbol shortcuts above each key? Gotta have ’em. One-handed mode? Ditto. Swipe to delete? Love it, need it.
Read on for nine of the niftiest Gboard features, from dedicated number rows and an on-demand numeric keypad to “neural” translations and a long-press shortcut for oft-used symbols.
Note: Yes, there’s also a version of Gboard for iOS, but most of my favorite Gboard tricks only work on the Android version.
1. Type with one hand
Tapping a virtual keypad with a single thumb can be something of a stretch if your phone has a massive screen. Luckily, Gboard has a clever feature that makes it easier to tap with just one hand.
 Ben Patterson
Your thumb will have an easier time stretching across the keyboard if you enable Gboard’s one-handed mode.
Tap the little caret sitting in the top-left corner of Gboard, then tap the one-handed mode button (the one that looks like a square with a thumb on top). When you do, the keyboard will squeeze in a bit toward the right side of the screen, making it easier for your thumb to reach every key.
If you’d rather type with your left thumb, tap the arrow on the left side of the keypad, or tap the expand button to turn off one-handed mode.
2. Translate as you type
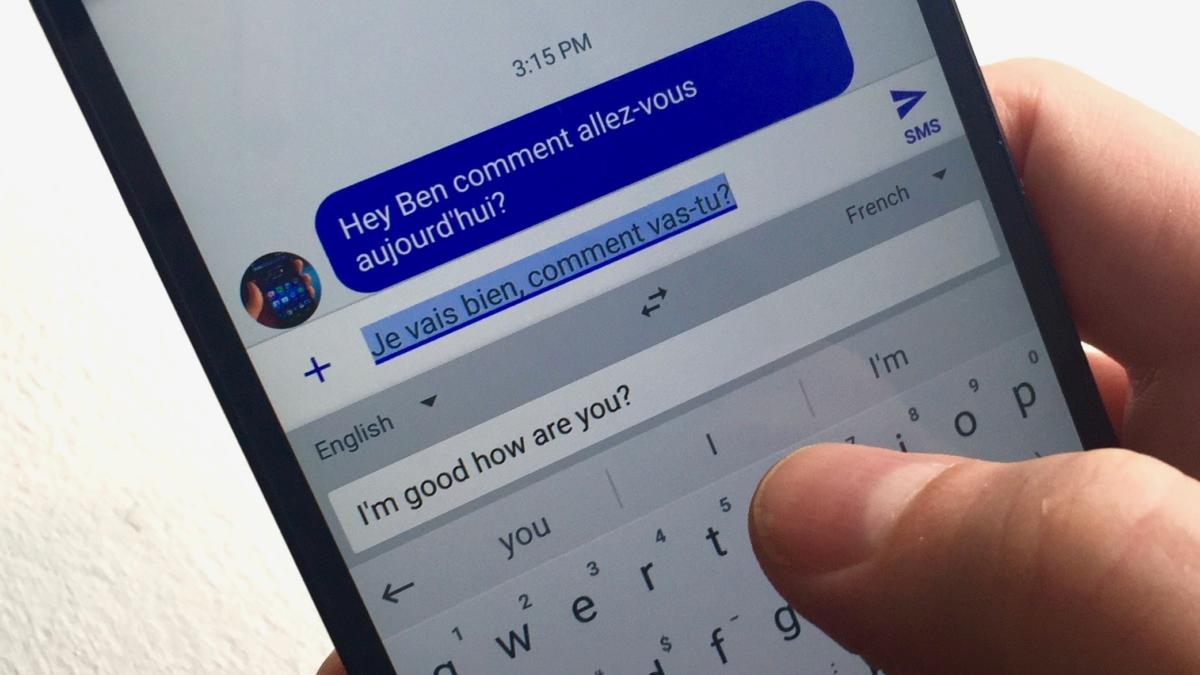
Thanks to its new, sentence-level “neural machine” translations, Google’s translation abilities have morphed from unintentionally hilariously to scary good. In just a few taps, you can compose, email, or even chat in another language, with a respectable degree of fluency.
 Ben Patterson
Gboard will translate your words as you type with help from Google Translate’s new “neural” translation abilities.
Again, tap the caret in the top-left corner of Gboard, tap the Google Translate button, pick the language you’d like your words translated into from the drop-down menu on the right, then start typing. Google Translate will work its magic as you type, pasting your translated words directly into whatever document, web page, email, or chat window you’re using.
3. Get a dedicated number row
It can get pretty annoying having to tap the symbols button whenever you want to type a number. If you’d rather save yourself a keystroke, there’s a time-saving Gboard setting you need to try.
 Ben Patterson
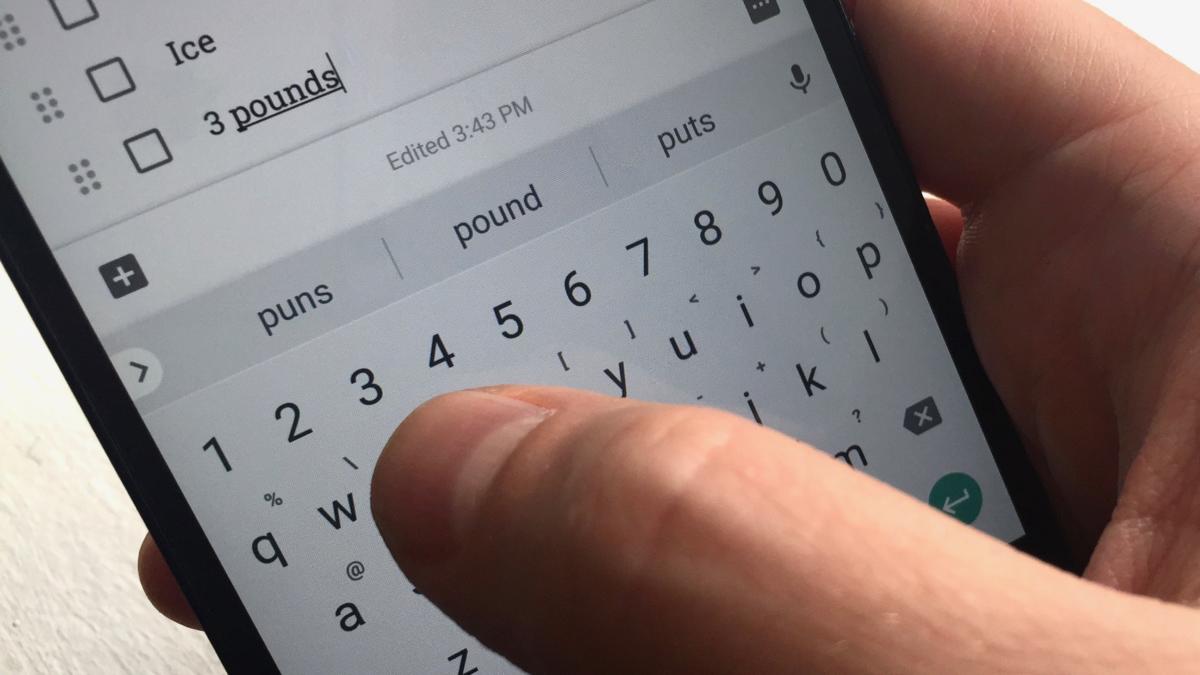
You can get quicker access to the number keys by toggling on Gboard’s “Number row” setting.
Tap the caret in the corner to reveal the Gboard menu, tap the Settings button, tap Preferences, then toggle on the Number row setting.
Head back to Gboard, and you’ll now see a dedicated row of number keys sitting at the top of the keypad, no symbols button required.
4. Get the numeric keypad whenever you want
A dedicated row of number keys is nice, but in some cases—like, say, when you’re typing phone or credit card numbers into an online form—a full-on numeric keypad is even better.
 Ben Patterson
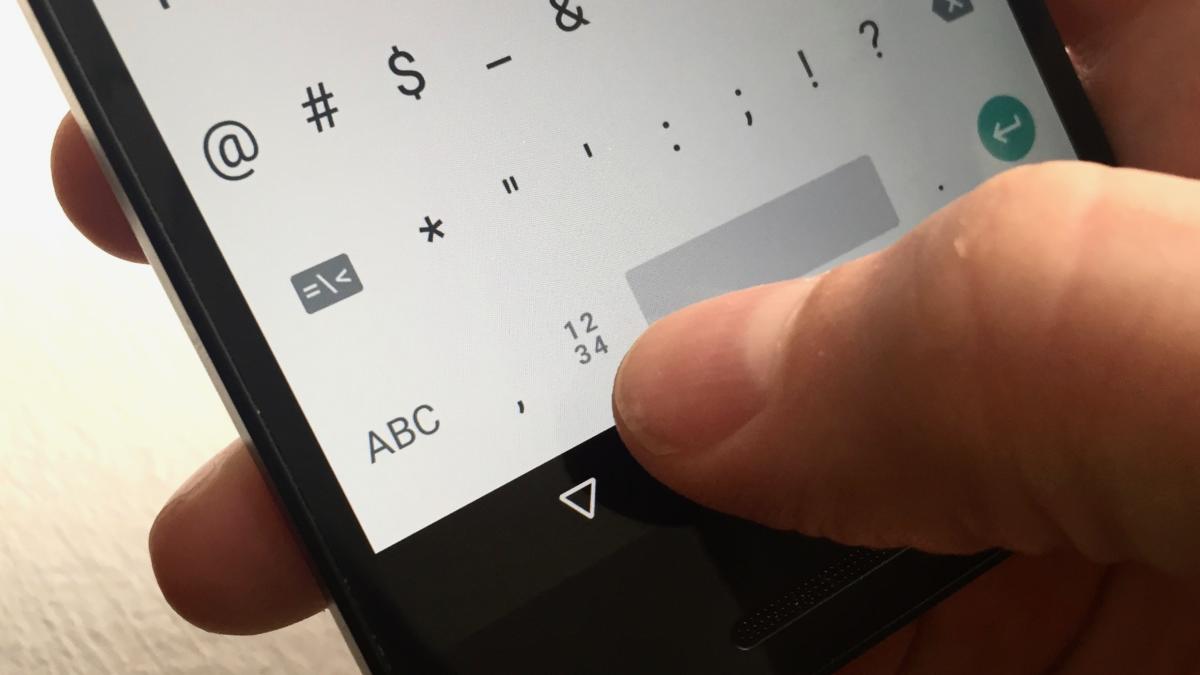
Tap the “1 2 3 4” button to call up Gboard’s numeric keypad whenever you want.
Ideally, Gboard should automatically switch on its numeric keypad when you’re filling in a numbers-only form. But if you find yourself stuck with the standard keyboard when you just want to type numbers, there’s a way to manually enable Gboard’s numeric keypad.
First, tap the symbols button in the bottom-left corner of the Gboard keypad. Then, just to the left of the space bar, you’ll see a 1 2 3 4 button, with the four numbers arranged two on top of the other. Tap it, and voilà—there’s your numeric keypad.
5. Long-press the period key for oft-used symbols
If you need to type a pound sign, a parenthesis, a dash or another common symbol, there’s an easier way to do it with Gboard than tapping the symbols key.
 Ben Patterson
Gboard’s most-used symbols are just a long-press away.
Tap and hold the period key, and you’ll get a pop-up with more than a dozen symbols—everything from an ampersand to a question mark. Just slide your fingertip over the symbol you want to type, then release.
6. Reveal shortcuts for each key
If you’re sick of tapping the symbols key and the long-press-the-period trick isn’t doing it for you, here’s a nifty alternative to try.
 Ben Patterson
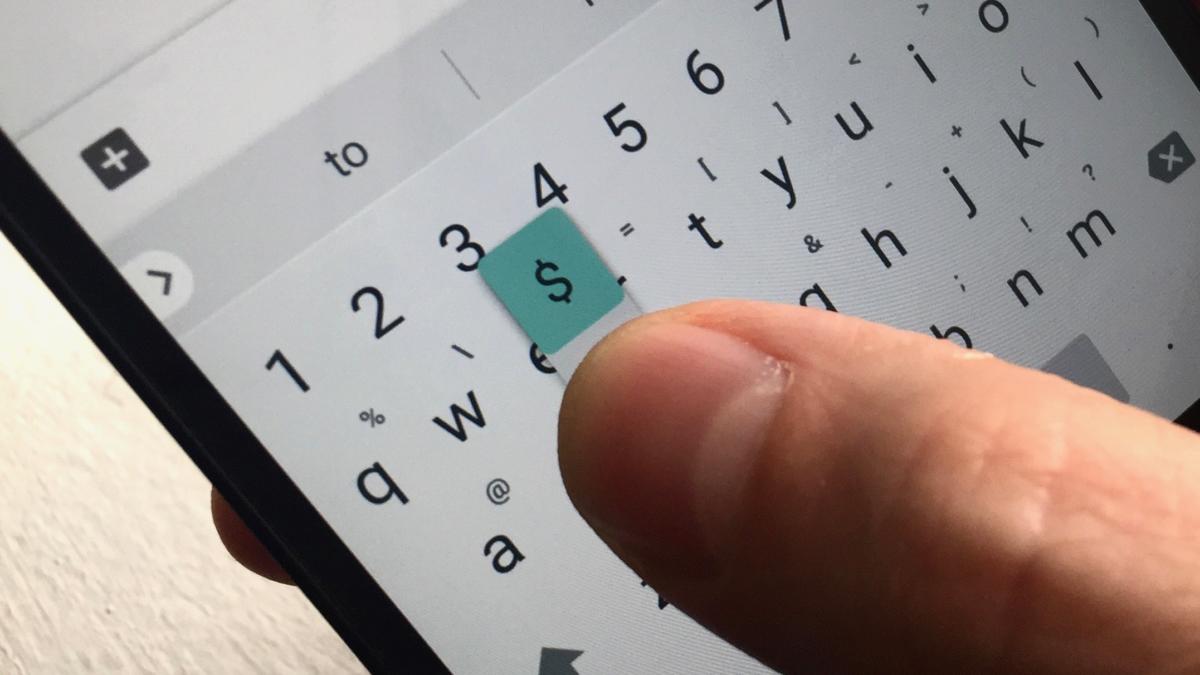
Gboard’s “Long press for symbols” setting puts shortcuts for symbols on each letter key.
Head for the Gboard settings screen, tap Preferences, then enable the Long press for symbols setting. Once you do, you’ll see shortcuts for symbols and numbers in the corner of every letter key; just long-press a key to type the shortcut in the corner of the key.
7. Long-press number keys for fractions
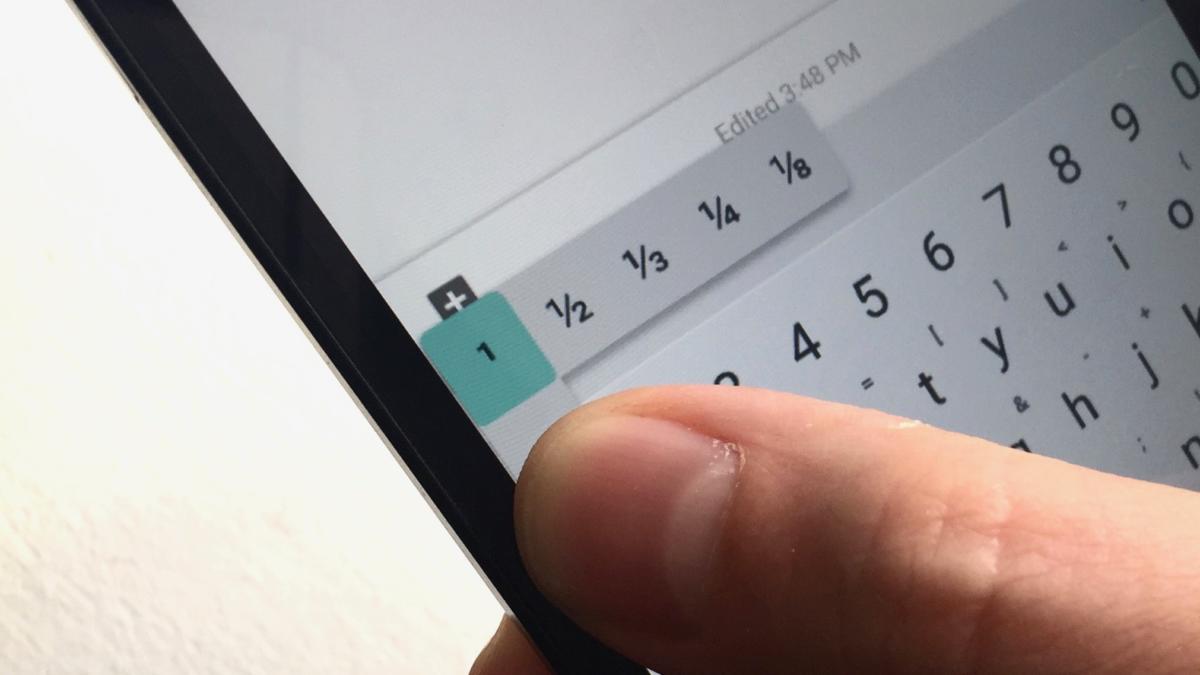
If you’ve never thought of typing an actual fraction symbol on your Android phone, maybe it’s because you didn’t know it was possible. All it takes is a long-press on a number key (a dedicated number key, mind you, not a shortcut number key).
 Ben Patterson
Typing fractions with Gboard is a lot easier than you might think.
Long-press the “1” key, for example, and a pop-up will reveal shortcuts for 1/2, 1/3, 1/4, and 1/8. A long-press on the “2” key will get you 2/3, the “3” key will let you type 3/8 or 3/4, and so on.
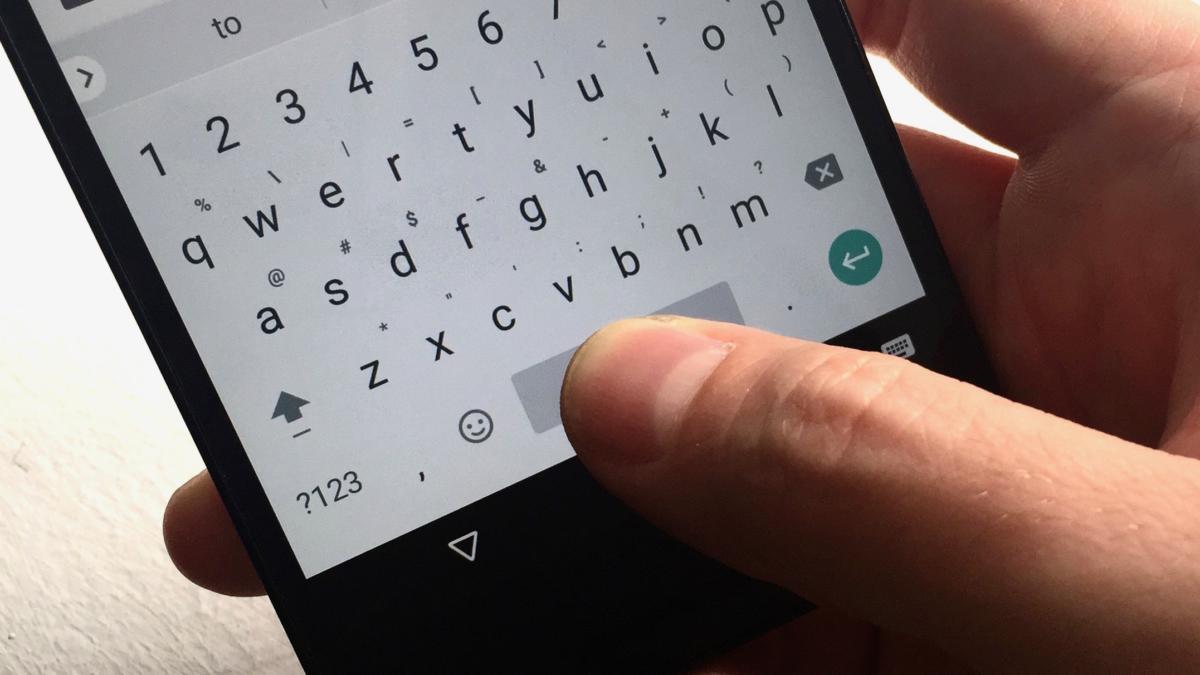
8. Move the cursor by swiping the space key
Putting the Android cursor in just the right place can be tricky if you’re trying to drag it with your fingertip. Luckily, Gboard boasts a feature that’ll let you move the cursor with much more precision.
 Ben Patterson
Put the cursor precisely where you want by swiping Gboard’s space bar.
Just swipe left or right on the Gboard space bar—and as you do, the cursor will scoot in the corresponding direction, perfect for nudging the cursor exactly where you want it.
9. Swipe to delete
Nope, you don’t have to tap the Delete key repeatedly to zap a large swath of text. Instead, starting from the Delete key, slowly swipe from right to left. Doing so will select text to the left of the cursor; release your fingertip, and the selected text will be deleted.
Change of heart? If so, the deleted text will appear just above the keyboard, in the text prediction area; tap the text to restore it.